

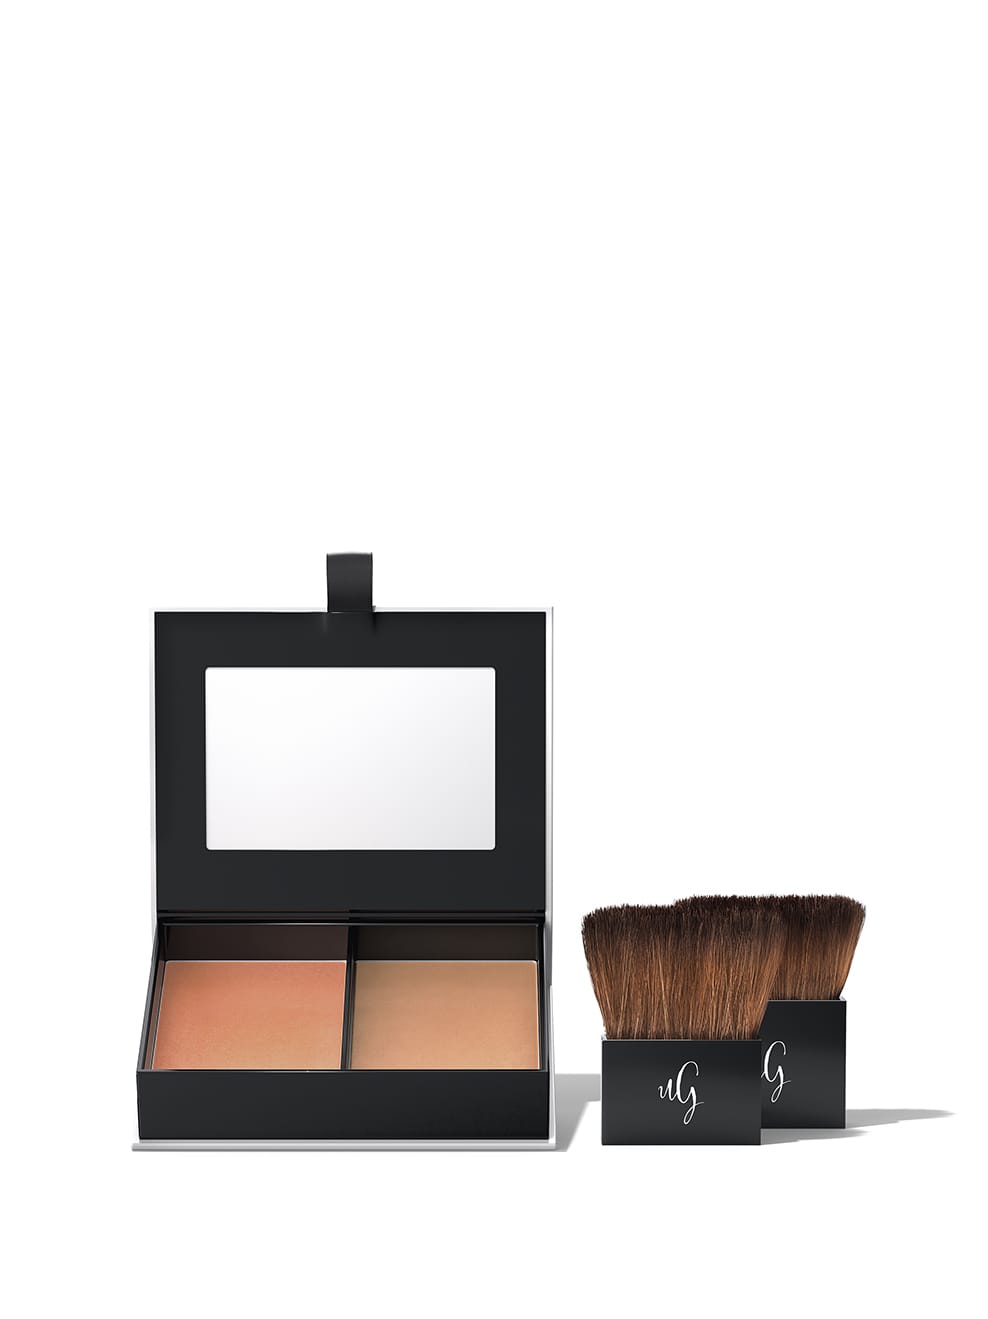
Karo zeigt Dir, wie Du den Contouring Powder mit den zwei Pinsel richtig einsetzt, um Deine Gesichtszüge optimal zu betonen – und ganz nebenbei auch eine natürliche Bräune zu zaubern!
THE EFFECT
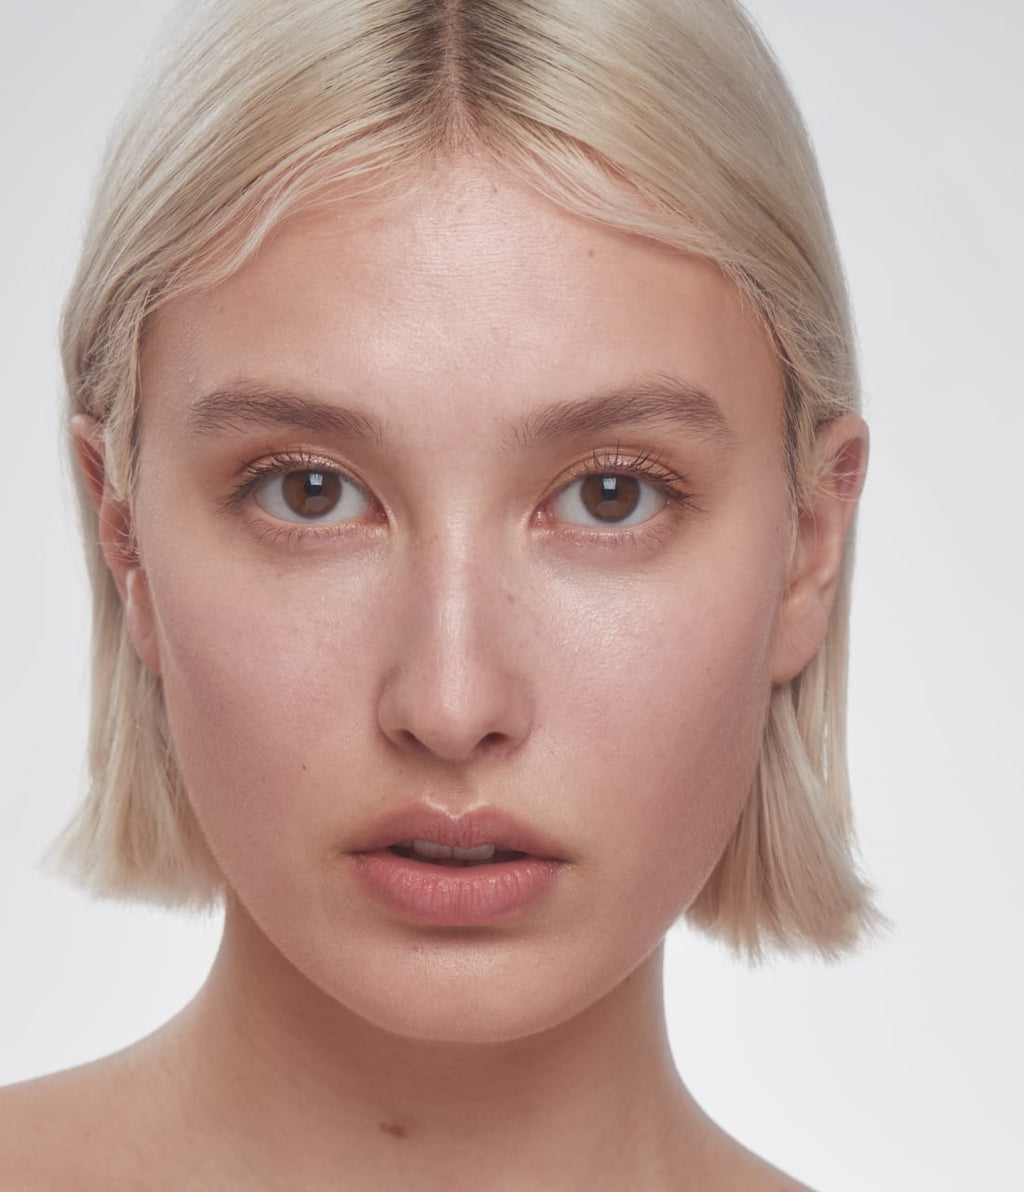
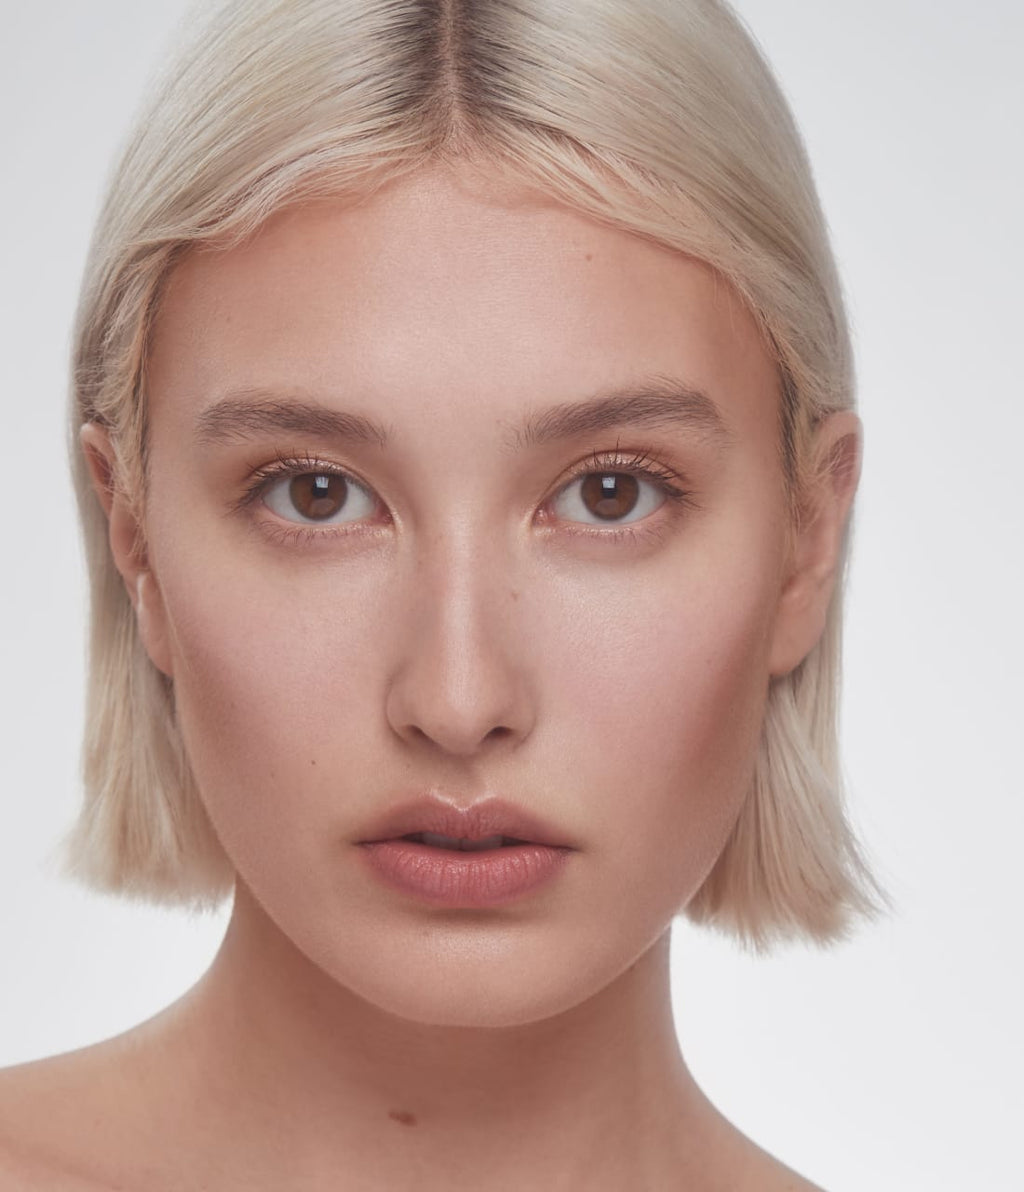
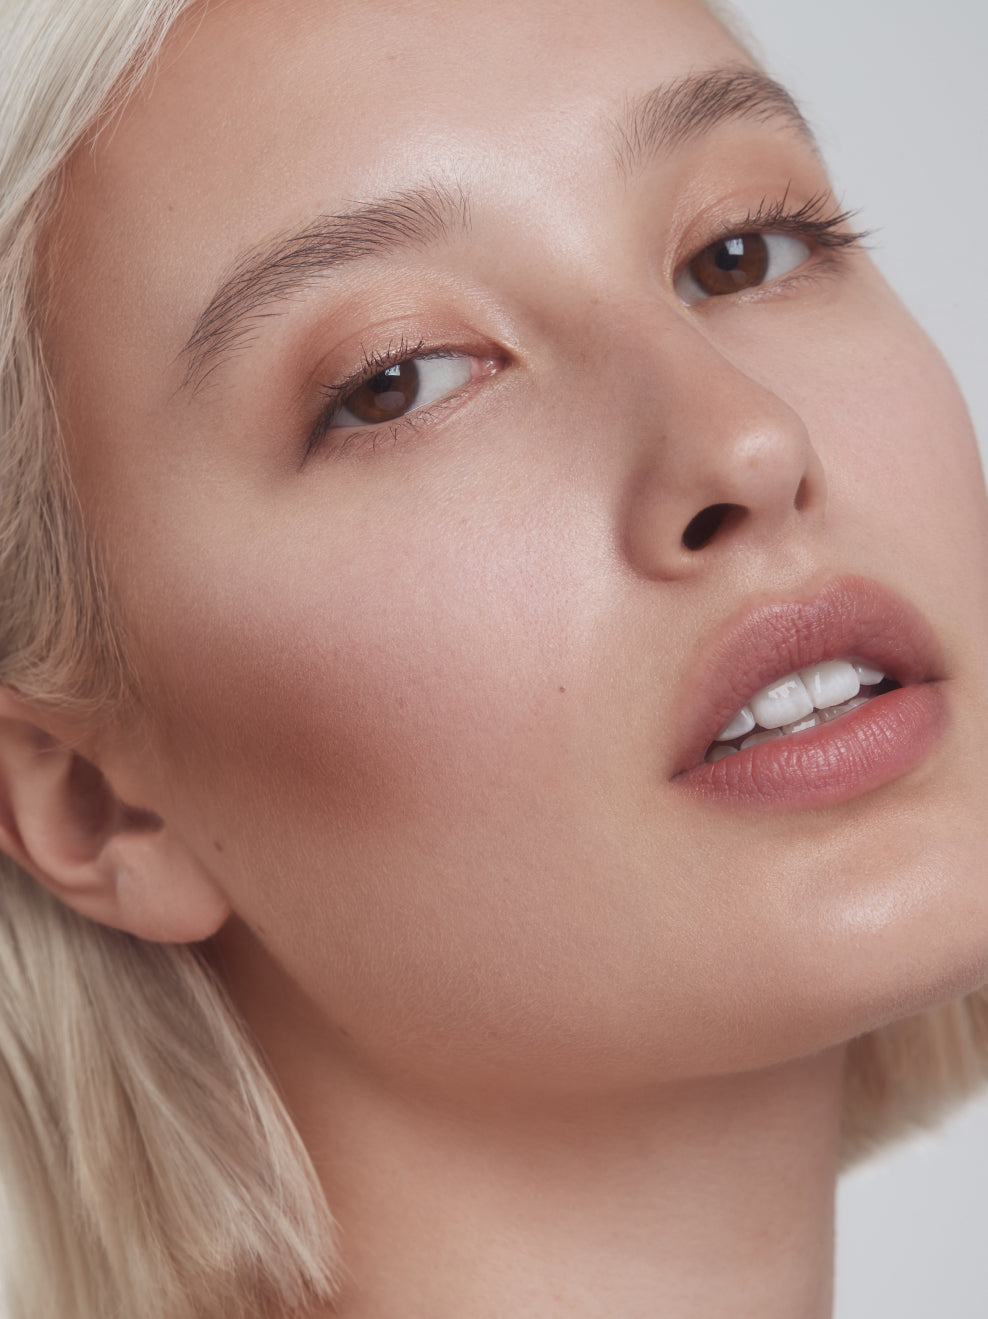
Lifting effect in seconds
Modeling & contouring – this is how it works:
TIPP 1
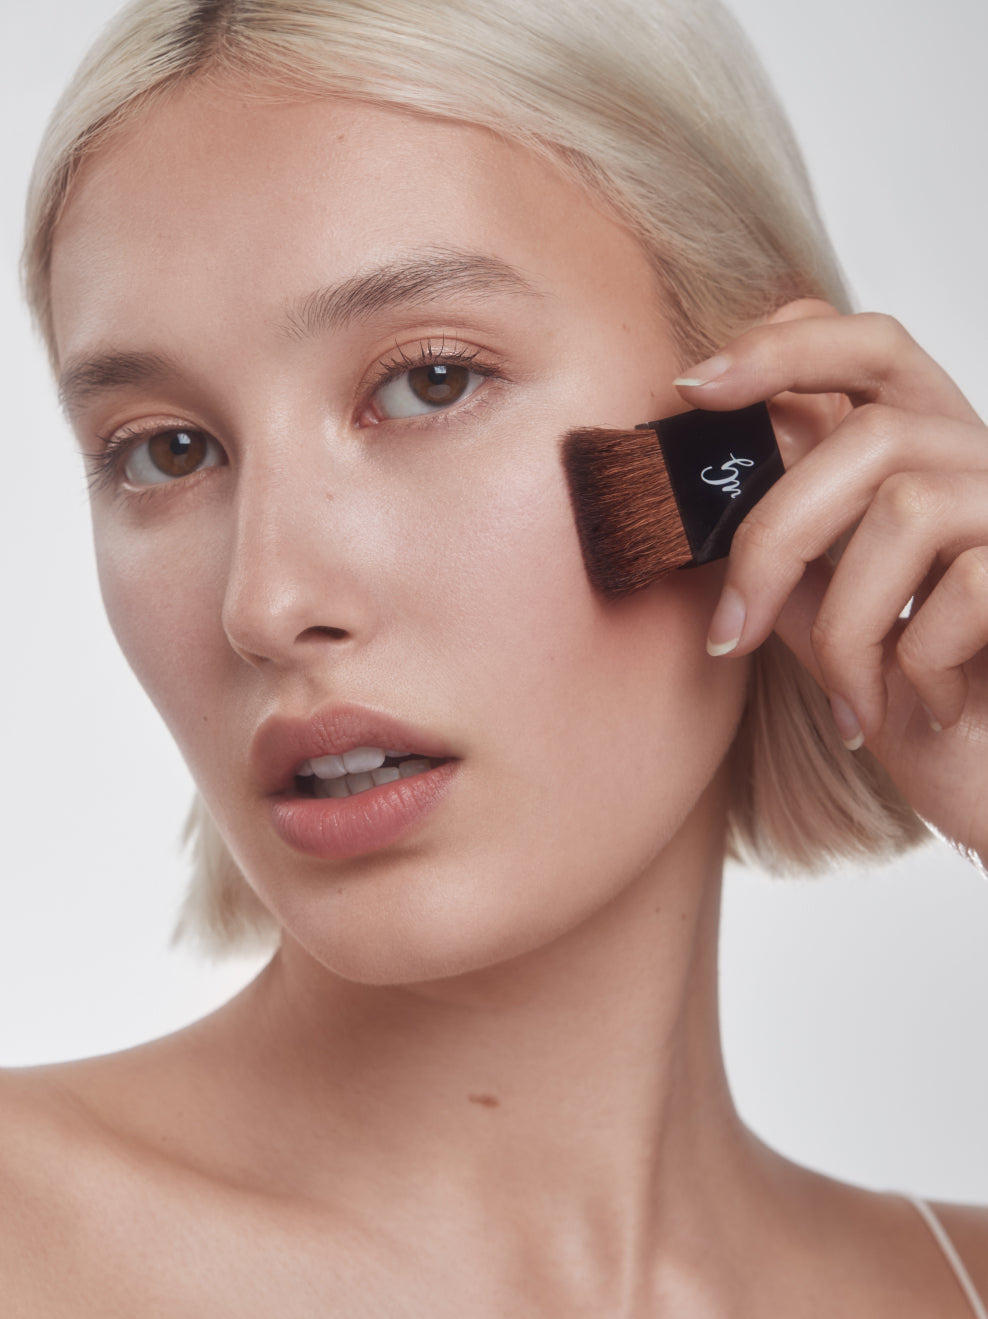
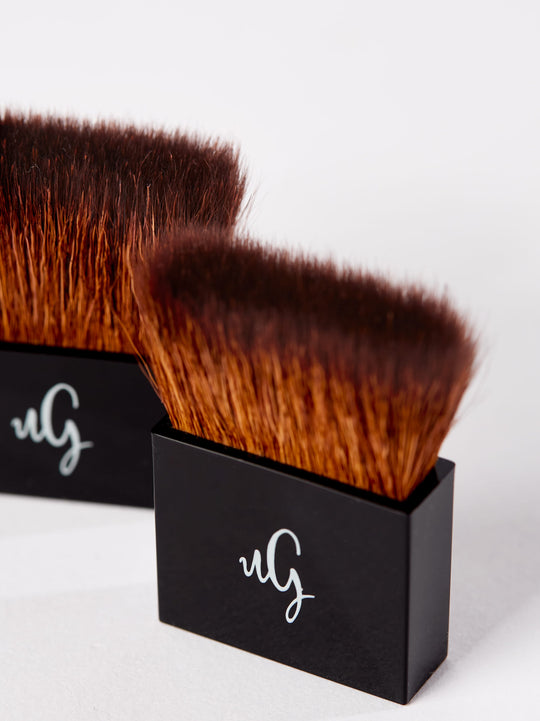
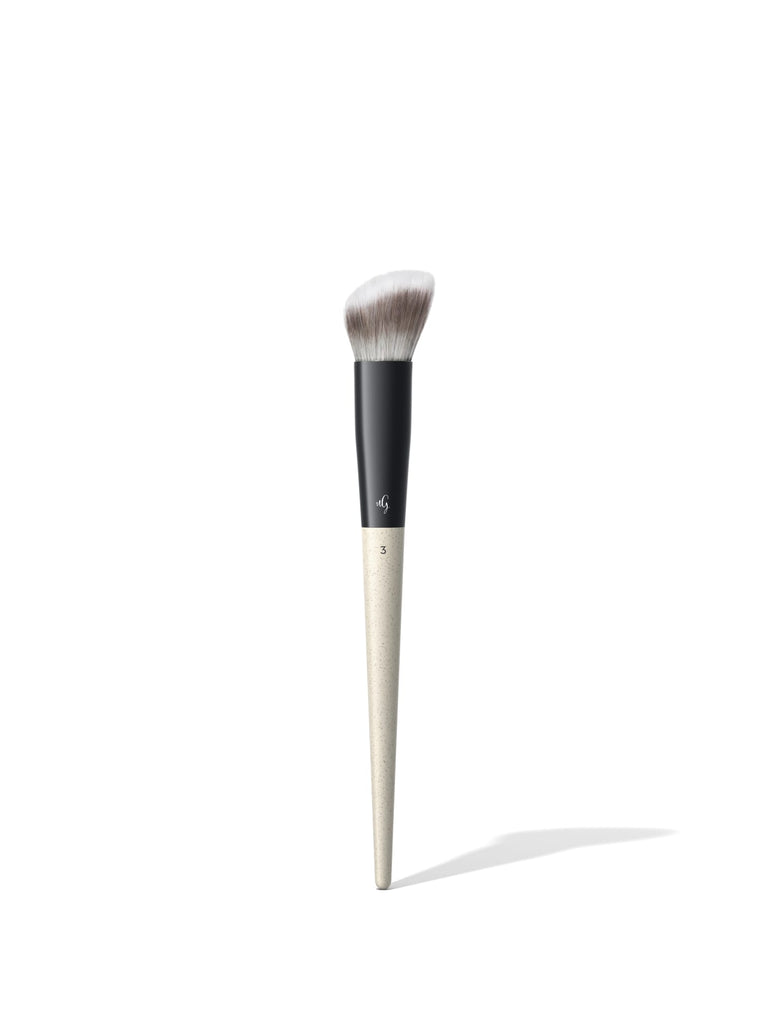
The slightly longer brush is softer and therefore perfect for applying the lighter shade. All over the face – especially the light WIDE shade, you can apply it all over your face for an even, slightly glowy complexion.
TIPP 2
Then, using the shorter, stiffer brush, apply the dark shade to the base of your ears and draw it from front to back. To keep the contouring beautifully natural, we recommend applying the dark color only a brush-width apart, not too far into your face.
TIPP 3
Your face will take on more shape if you apply the dark shade along the jawline to under the chin. The same applies to the base of your forehead and temples. This creates a visual shadow – the perfect, natural contouring, made easy.
TIPP 4
You can mix the two shades for blending. You should also try using the darker shade as a brow powder. Give it a try and thank us later.
Level up your skin game
-
Soon New Formula
- Farbe
- Anwendung
- Textur
- Erscheinungsbild
- Funktionalität
- Marika K.Verifizierter KäuferRezensierenSUNNE BeroIch empfehle dieses ProduktHautzustand NormalAlter 35-44Power Eigenschaften Aufbaubare Deckkraft, Leicht zu verblendenMit 5 von 5 Sternen bewertetvor 22 SekundenSunne
Nichts zu meckern ;)
- Christine H.Verifizierter KäuferRezensierenSUNNE BeroIch empfehle dieses ProduktHautzustand NormalAlter 45-54Power Eigenschaften LanganhaltendMit 4 von 5 Sternen bewertetvor 2 WochenBronzer
Funktioniert genau so wie im Video
- brigitte K.Verifizierter KäuferRezensierenSUNNE WideIch empfehle dieses ProduktHautzustand SensibelAlter 55-64Power Eigenschaften leichtes Tragegefühl, Leicht zu verblenden, AlltagstauglichMit 4 von 5 Sternen bewertetvor 3 MonatenGut wie immer
Hatte jahrelang leve , den es leider momentan nicht gibt , deshalb hatte ich mir Sunne bestellt.
Passt auch .
- A.K.Verifizierter KäuferRezensierenSUNNEIch empfehle dieses ProduktMit 4 von 5 Sternen bewertetvor 5 MonatenJahrelanger Favorit
Nachdem ich jahrelang mein erstes Kästchen aufgebraucht habe, war es nun mehr als an der Zeit, es zu ersetzen. Die Farben sind wieder genauso schön, geben meinem blassen Hautton mehr Dimension und Lebendigkeit. Die Textur ist sehr pudrig, der Magnetverschluss leider nicht mehr so gut, wie beim Vorgänger, es bleibt nur mit Gummiband fest genug zu.
- Lydia W.Verifizierter KäuferRezensierenSUNNEIch empfehle dieses ProduktMit 5 von 5 Sternen bewertetvor 7 Monaten5 Stars
Tolle Farbe und Konsistenz 😍
Contour Make-up: For looks with wow definition
WIDE, LEVE, and BERO: With these three duos, SUNNE opens the door to the world of contouring. Naturally, they always adhere to their own standards of ensuring professional performance while maintaining maximum natural cosmetics certification! That's why SUNNE Contouring Powder is a double game-changer for any decorative makeup look. It accentuates individual facial features like Instagram's favorite filters. And it leaves nothing that could be unhealthy on the skin—after all, all three makeup contour kits are certified according to the BDIH standard.
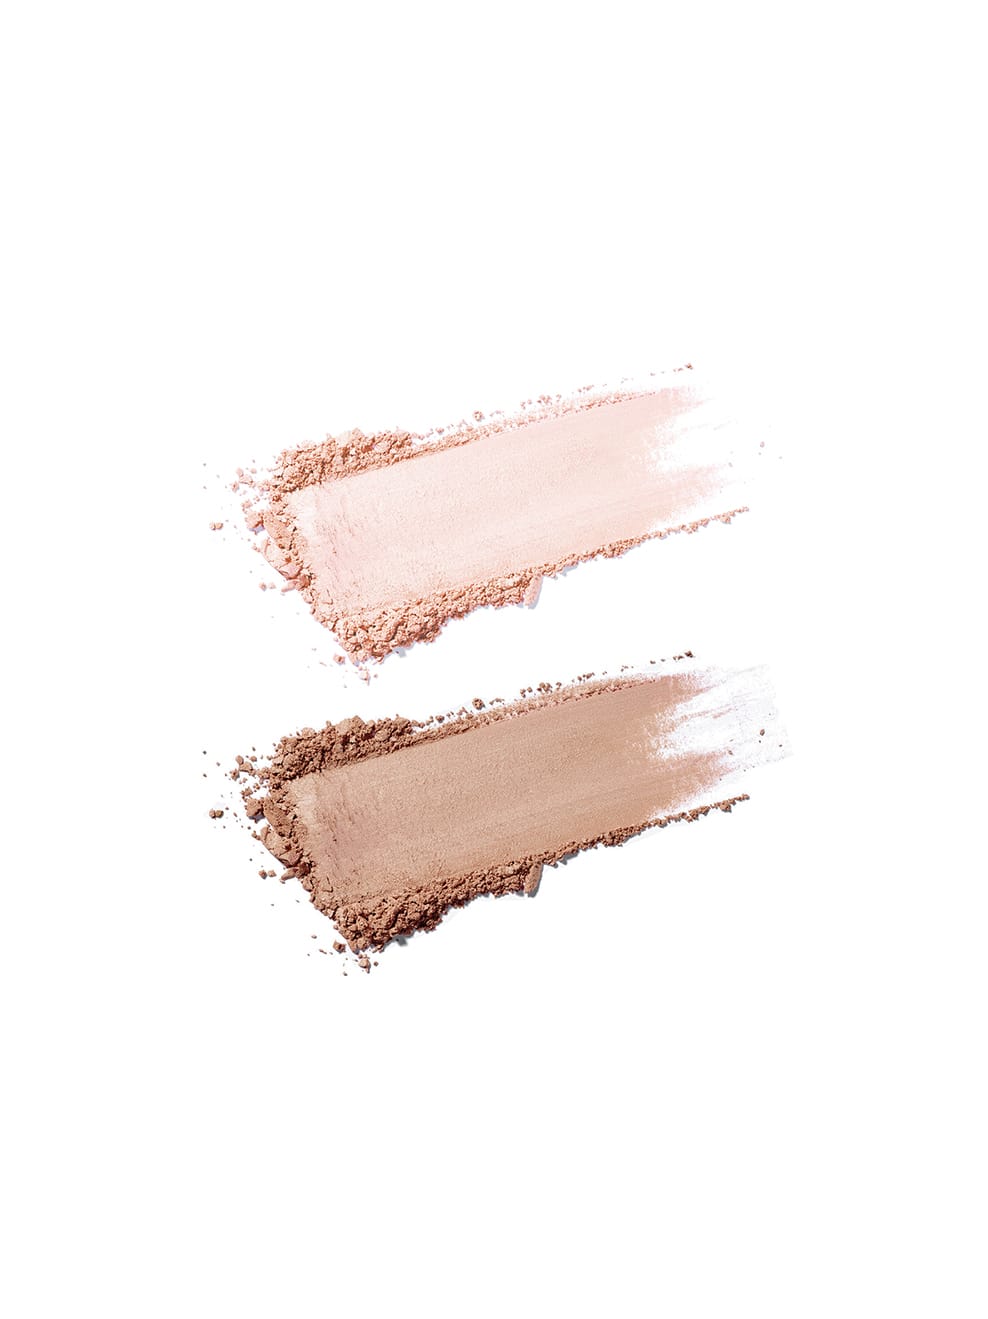
In the WIDE version, SUNNE combines a very light shade with a light apricot and rose tone, whose golden pigments create a soft sun glow. This color also works as a blush for very fair, sun-sensitive skin. The light shade, meanwhile, creates a gentle highlighter glow and an optical lifting effect for darker skin tones. To even out the complexion, use the longer brush to apply the light powder generously to the cheekbones, eyelids, and the entire face, including the neck. Using the shorter brush, apply the darker shade in an E-shape: from the hairline above the temples along the lower half of the cheekbones, following the bone structure of the face to the chin line. To perfect the optical depth created in this way, the color nuances are gently blended with the brush.
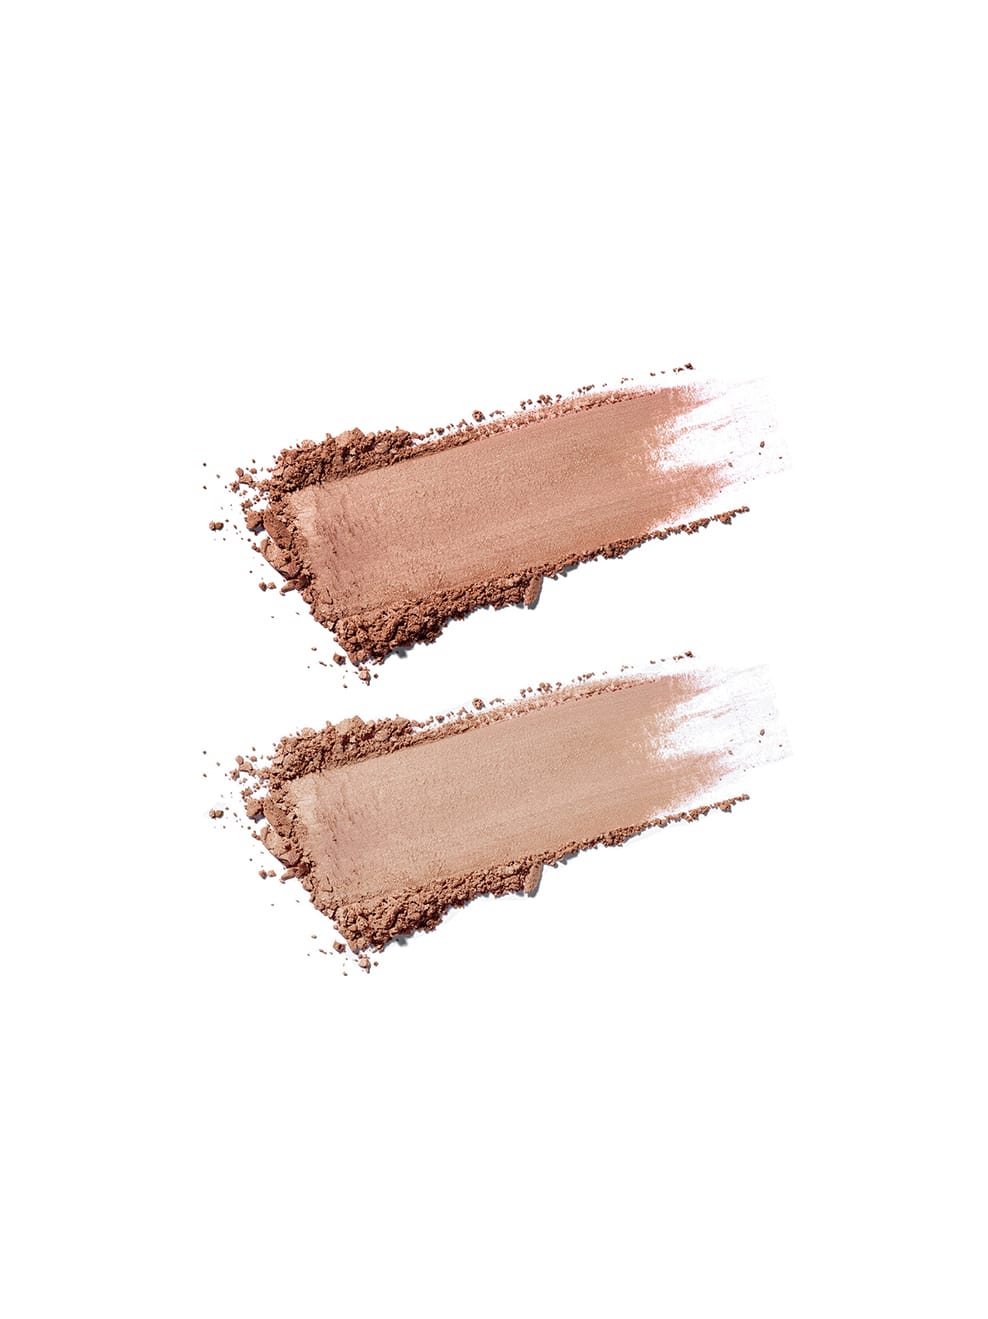
LEVE brings a fresh touch to contouring. Its slightly lighter apricot shade can be applied to the cheekbones like a blush or used to create a natural highlight on the eyelids. The shorter brush for the darker shade creates optical depth under the cheekbones, on the temples, and along the jawline. Blending the different colors cleanly with the brush is always important for natural-looking contouring.
BERO is perfect for a slightly darker skin tone: Its delicate reddish-brown shade is perfect for applying generously to cheekbones and face to harmonize the complexion and give it that first kiss of sunshine. The shade also works well as a bronzer on cheekbones, temples, forehead, and along the contours. Here, too, the shorter brush creates contouring with the dark shade. This shade is always the same for all three SUNNE variants. It's also good to know: every shade theoretically works for every skin tone, so there's no need for one exclusively for darker skin tones, for example.
The Art of Contouring – a "how to" in 6 steps
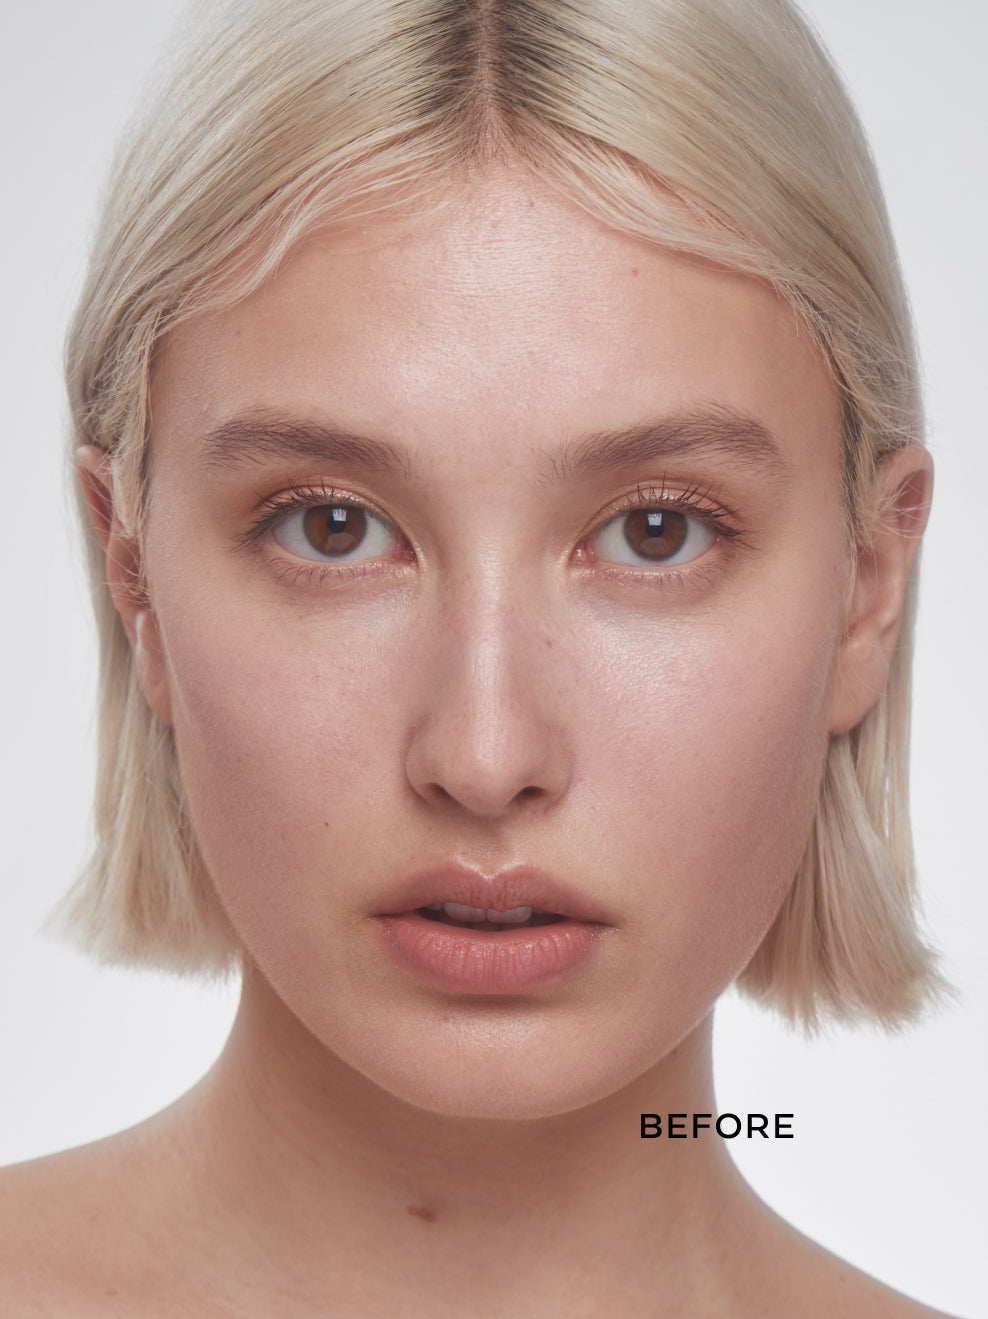
- Step 1: It all starts with a cleansed and well-cared-for complexion. This is essentially the canvas for your contouring masterpiece. If you want to create a more even complexion beforehand, ERST 's primer and LIETH 's 10 foundation shades are a great base.
- Step 2: The starting point for choosing a contouring kit is your natural skin tone. That's why two kits are better than one: In summer, you usually need different shades than in winter on pale skin. So, if you want to buy your contouring makeup wisely, double up your shopping.
- Step 3: As described, the lighter contouring color should be applied to the prominent areas of the face: the forehead, the bridge of the nose, and the chin. This will reveal the first shadow-forming areas – and also focus on natural highlights.
- Step 4: For more depth and definition, the darker shade of contour makeup comes into play. It intensifies the shadows under the cheekbones, makes the nose appear narrower, and emphasizes the jawline and chin, where it can also visually soften slightly sagging cheeks.
- Step 5: Use a contouring brush or beauty blender to gently blend the transitions between the colors. This step erases harsh lines and creates a natural, harmonious contouring result.
- Step 6: To make your cheeks bloom even more, add a touch of blush and highlighter to complete the look.
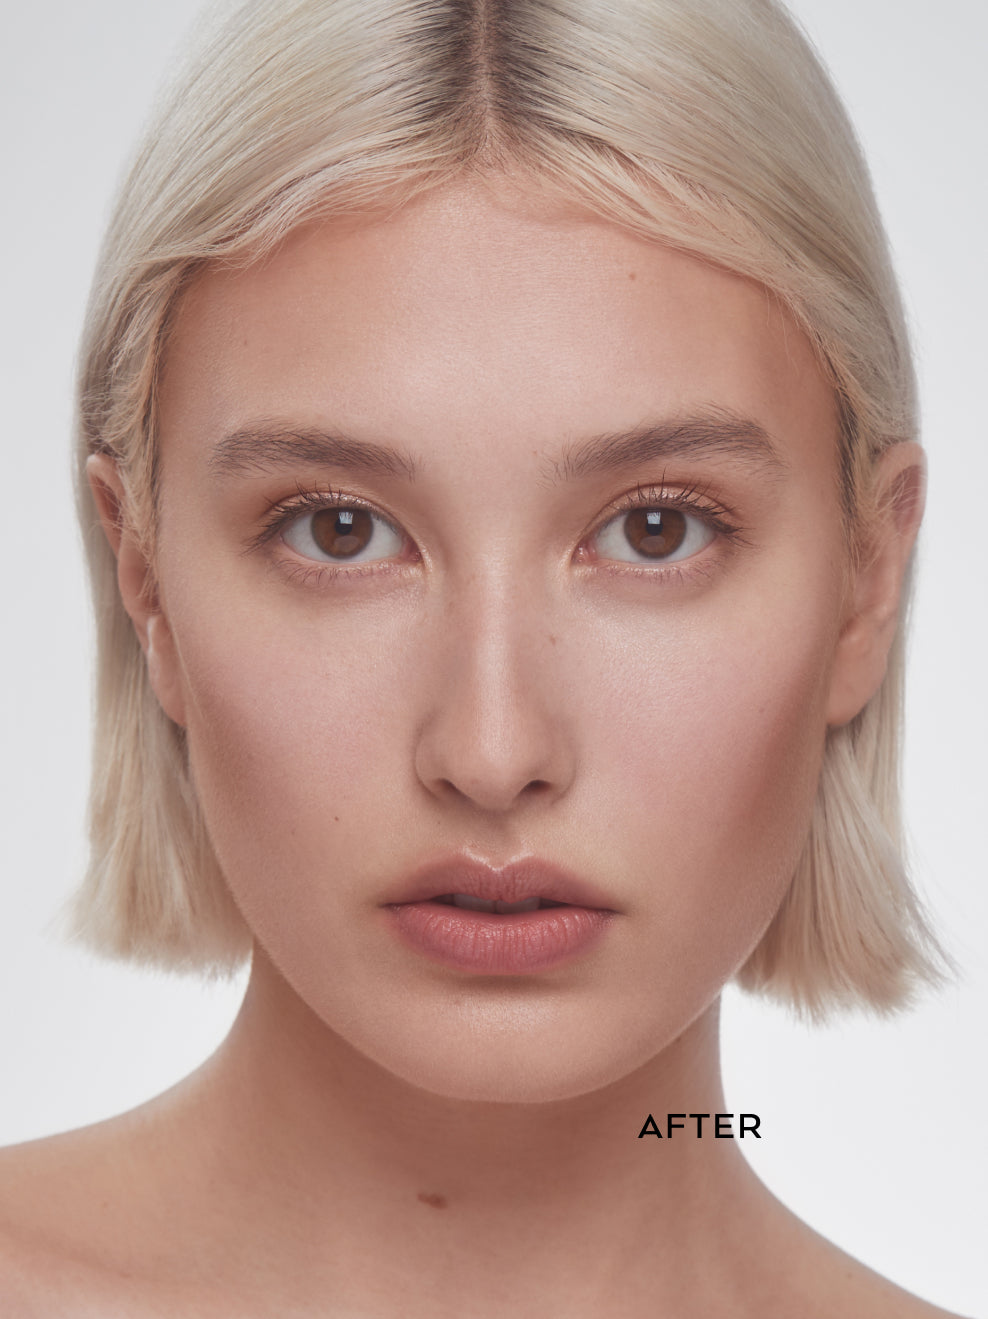
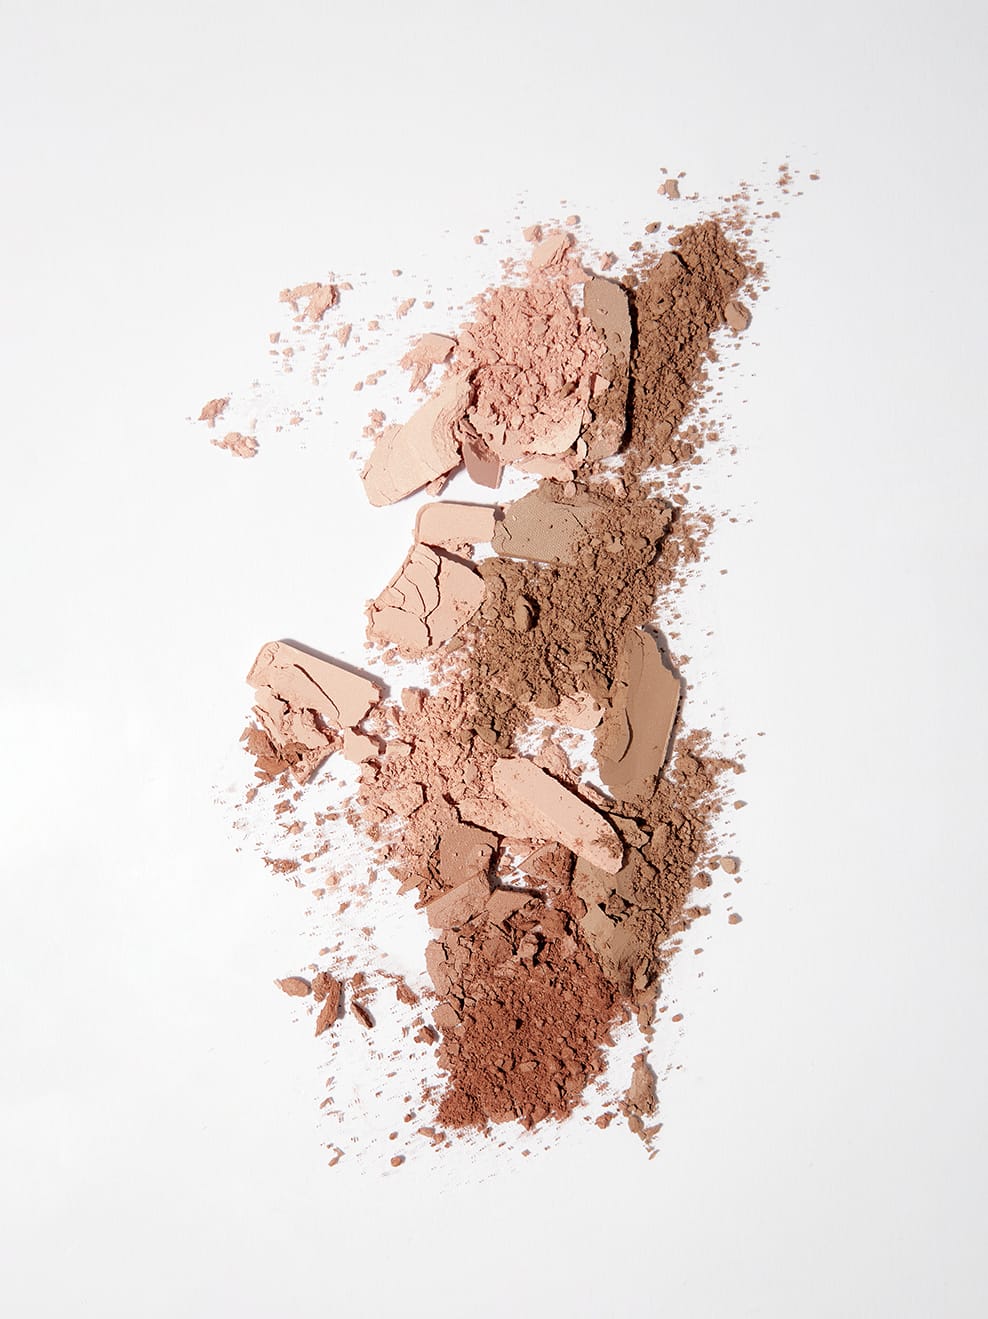
Light and shadow – little effort, many effects
Et voilà: The masterpiece is complete. Contouring is all about skillfully "shaping" the face in multiple steps and layers using shades that match your complexion. The lighter shade of all makeup contouring products always serves to highlight the forehead, nose, and chin—those areas that naturally receive the light. The darker shade always creates shadows along the individual bone structure of the face: at the hairline and jawbone, along the cheekbones, and on the sides of the nose.
Tools like a makeup contour kit, with shades that harmonize with your personal complexion, function like a makeup artist in a box. Depending on the combination of colors, the vibe of the contouring expression can be defined differently. It's like a game where you can conjure up new looks and contouring effects again and again by mixing, experimenting, and trying out different shades.